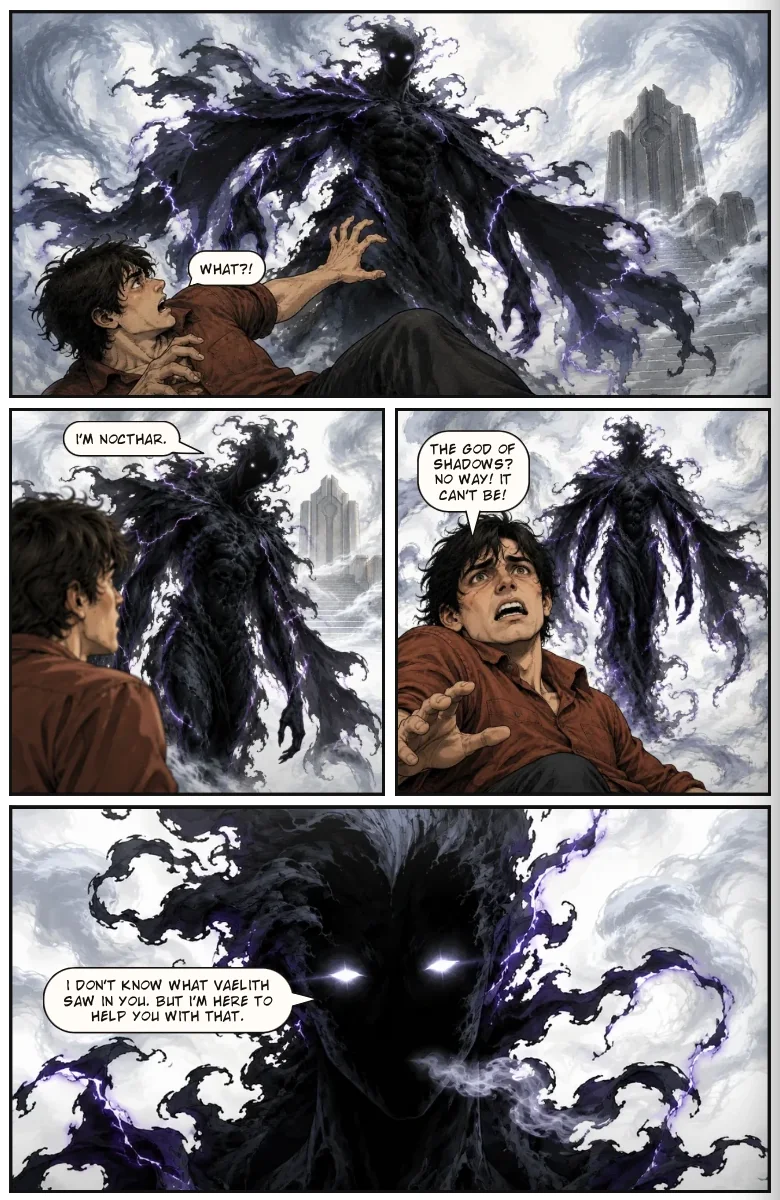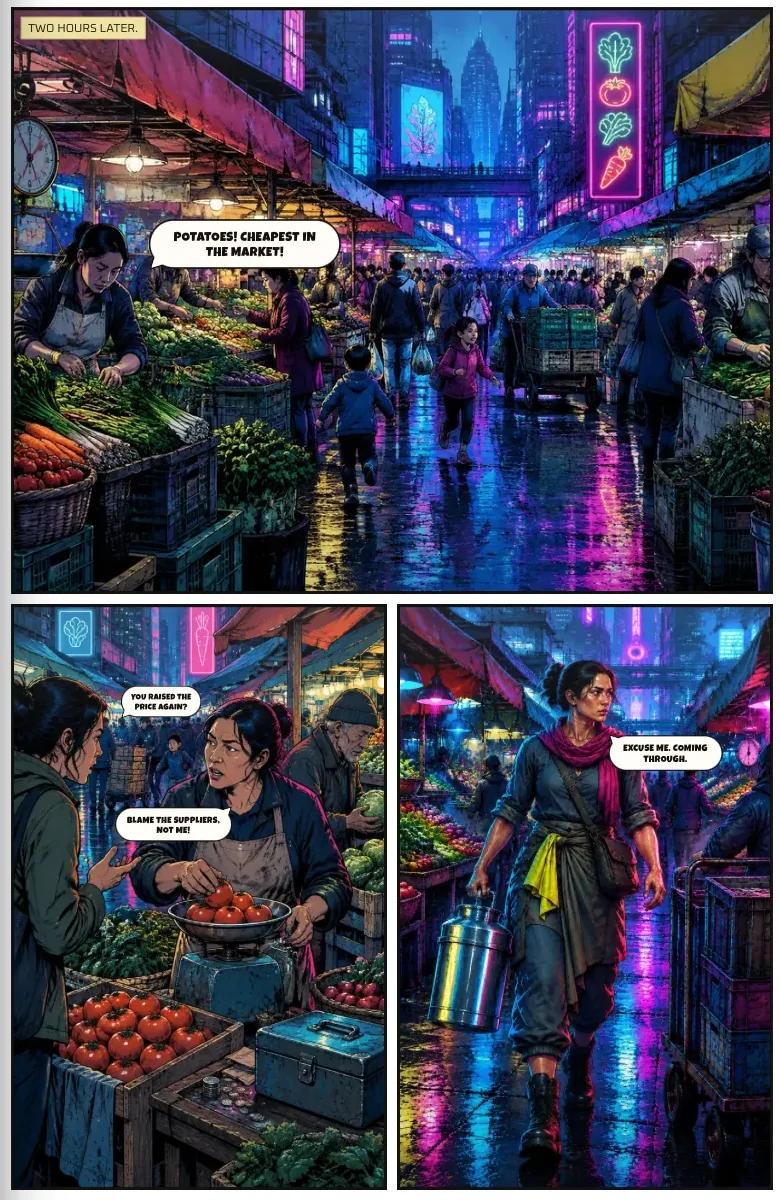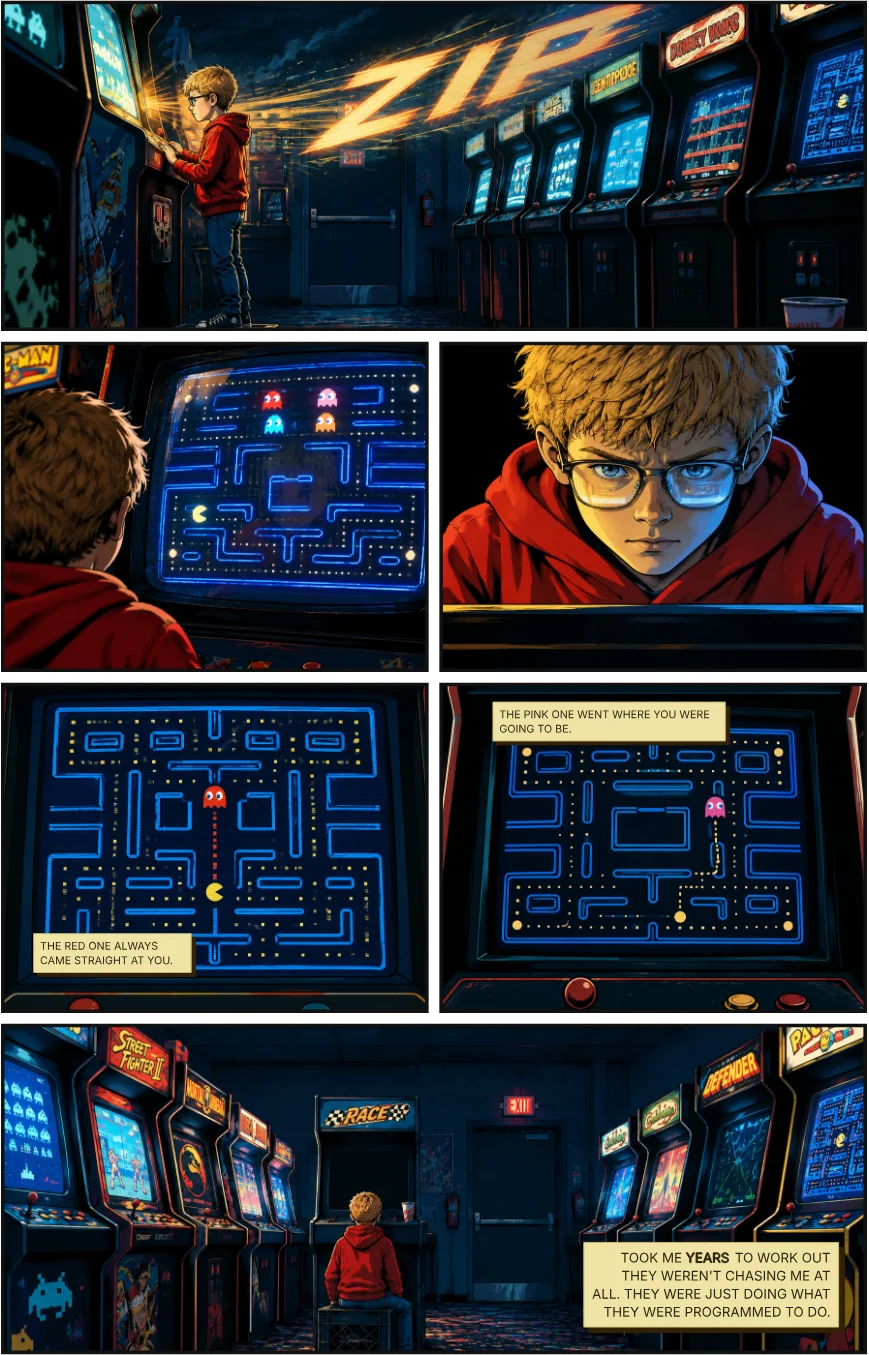
How to turn your script into comic pages
You have a finished script. Here's how to adapt it for comics: breaking scenes into panels, setting up cast and places, trimming dialogue for balloons, and keeping it all consistent.
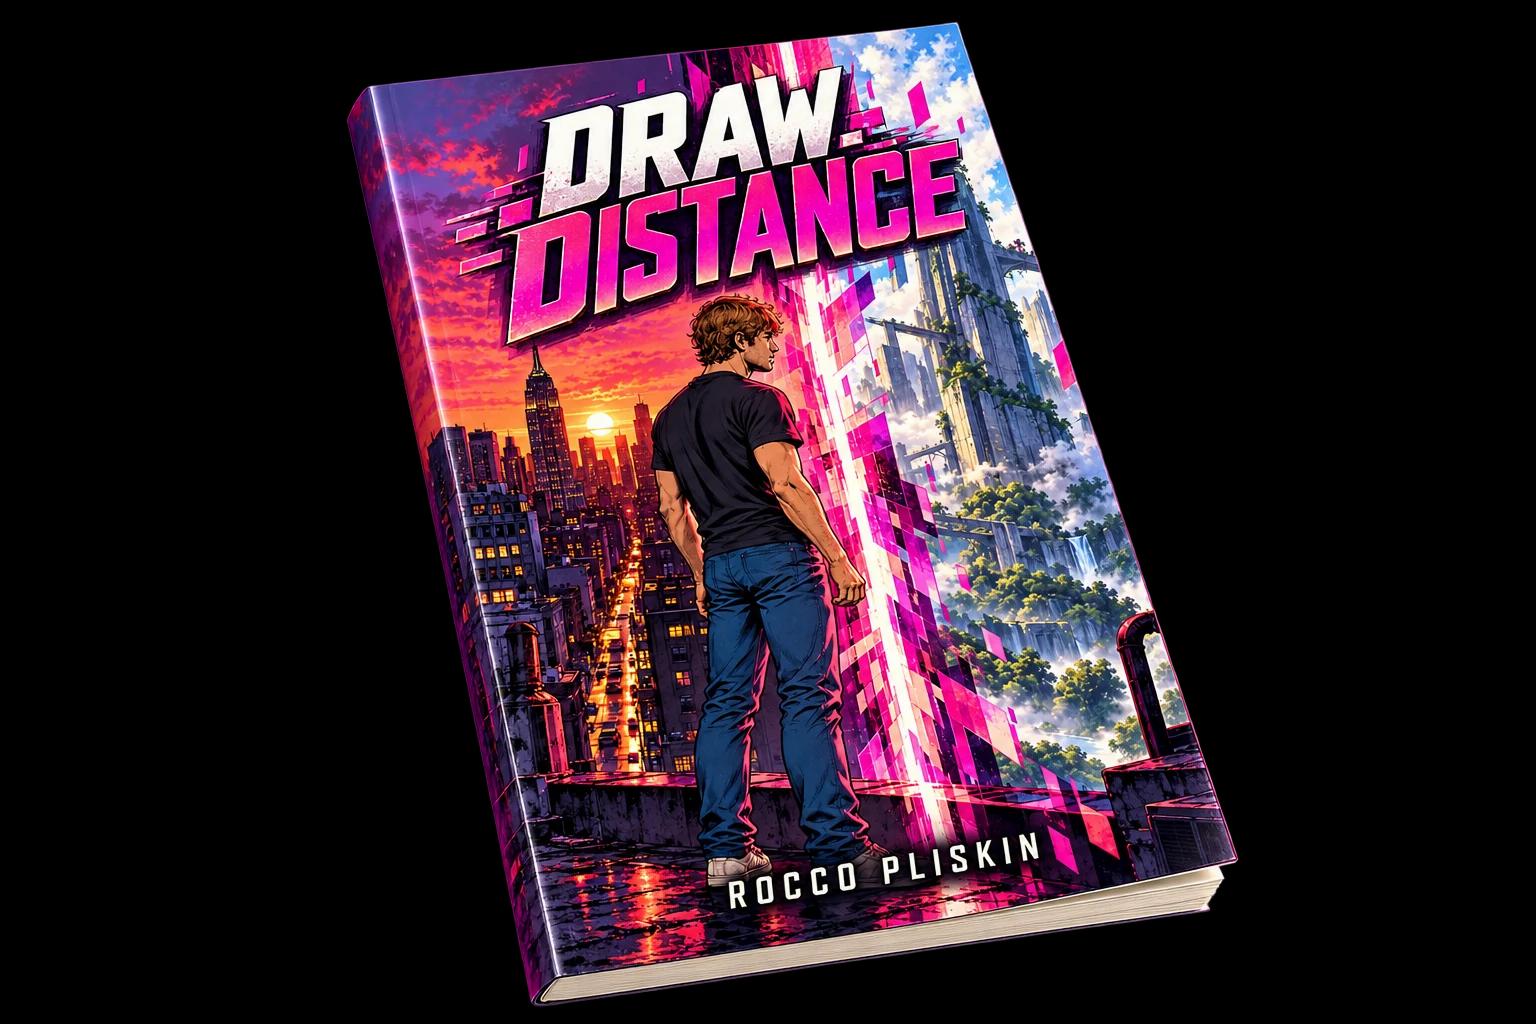
This guide is for writers who already have a script and want to adapt it into comic pages. If you're starting from scratch, see how to make a graphic novel with AI first.
01What your script needs before you start
Before you begin laying out pages, make sure you have:
- A scene list. Know which scenes are in your story and in what order. You'll break these into chapters and pages.
- A character sheet. List every character who appears, with notes on their appearance, age and role. You'll build this cast once in the studio.
- Setting notes. A list of the places your story visits: rooms, streets, buildings. Each one will be described once and reused across panels.
You don't need final dialogue yet. Panel descriptions come first; dialogue and captions are added after the layouts are done.
02Breaking your script into chapters, pages and panels
Chapters: Group related scenes into chapters. Each chapter has a title and a short summary of what happens.
Pages: Think about page turns. A revelation, a question or a moment of tension works well as the last panel of a page. The reader turns, and the next page answers or escalates.
Panels: Break each scene into individual panels. A conversation might be three to six panels. An action sequence might be ten or more. Aim for clarity: each panel shows one clear moment or action.
The studio lays out panels, balloons and captions automatically, and they can be rearranged. You write what happens in each panel, and the layout is generated. If something doesn't work, move it.
03Set up the cast, places and props first
Before you write panel descriptions, add your recurring elements to the book:
- Cast: Add each character once, with their appearance, age and role. Tag them by name in every panel they appear in.
- Places: Describe each location once: a café, an office, a street. Tag the place in every panel set there.
- Props: Objects that matter to the plot — a weapon, a letter, a vehicle — are saved and tagged the same way.
This is what keeps faces, rooms and objects consistent across hundreds of panels. For more on this, see how to keep characters the same in AI comics.
04Dialogue to balloons and captions
Trim your dialogue. A line that reads well on the page might be too long for a balloon. Aim for one or two sentences per balloon, and no more than three balloons per panel.
Captions for narration. If your script has a narrator or inner monologue, those become captions. Keep them short: two lines per caption works best.
Lettering is automatic. The studio places balloons and captions for you, matching each line of dialogue to its speaker. You can edit the text any time.
05Worked example: Frame Break
Frame Break is a 16-chapter graphic novel built in Youdio Studio. It was adapted from a detailed outline, not a finished script, but the process is the same. The team:
- Wrote the world rules first: how detail, repetition and glitches work in the story's universe.
- Built the cast once, including the same character at different ages as separate entries.
- Created places with explicit "avoid" lists to keep visual consistency.
- Saved props and effects that recur, so the glitch looked the same across 250 pages.
- Used a panel template for key moments: setting, shot, character, action, mood, visual hook, composition, important details.
Read the full walkthrough in how we wrote Frame Break, or see the finished book at Frame Break.
06Revise: redo panels and invite collaborators
Any panel can be redrawn. If a panel doesn't match your vision, edit the description and regenerate it.
Collaboration: Invite others to review and suggest changes. Plan limits:
- Free: 1 collaborator
- Author ($8/month): Up to 5 collaborators
- Pro ($15/month): Up to 20 collaborators
07Next: print or share
Once your comic is finished:
- Print: Export a print-ready PDF. See how to print a self-published graphic novel.
- Share online: Create a reader link that anyone can open in a browser or the iPhone reader app.
What to take from this
- Prepare a scene list, character sheet and setting notes before you start.
- Break your script into chapters, pages and panels, thinking about page turns and pacing.
- Set up cast, places and props first, then tag them in every panel.
- Trim dialogue to fit balloons: one or two sentences per balloon, no more than three per panel.
- Use Frame Break as a template for keeping everything consistent.
- Revise freely: panels, pages and chapters can all be rearranged and redrawn.
Start adapting your script in Youdio Studio — bring your finished script and see it laid out as comic pages.
Frequently asked questions
Can I paste my own script into Youdio Studio?
Yes. You can work from a finished script, an outline or just a premise. The studio lays out chapters, pages, panels, balloons and captions automatically, and everything can be rearranged.
Do I need to draw?
No. The studio handles all the art. You describe what happens in each panel, and the art is generated from your descriptions.
Is it still my story?
Yes, subject to the Terms of Service. You write it, you own the story.
Can I change things after I've started?
Yes. Panels, pages and chapters can be rearranged. Characters and places can be edited, and any panel can be redrawn.
How long does it take?
That depends on your book's length and complexity. A short comic might take a few hours to lay out and refine. A longer graphic novel could take days or weeks of editing and revision.